Rustbuster in Spalding offer a full under body clean, treat and re-seal plus body injection service for around £360 plus VAT for a small car (includes the MGB). They will also weld but don't really deal with painted areas. I paid full price and this is an honest review not an ad.
Firstly the full treatment is a 1.5 day process so unless you live locally, you will probably need a B&B, I did. (Take something to do or read as Spalding is a quiet place...)
Secondly, they are very busy and the waiting list is frequently in months, they really need new depots or franchised service centres as their capacity is quite small.
Rustbuster is about 6km out of town they gave me a lift back after I dropped the car off but I had to get a taxi the next day. Reception was friendly and efficient. Left the car at 9 and it was done by 10 the next day. They also swapped a wheel for me as theyhad noticed a slow puncture. The treatment includes removal of old undersealant and road muck, rust is neutralised and then a coat of really nice black sealant applied. They will remove and refit arch protectors if necessary. I am really pleased with the finish.
 |
| Looking forwards |
 |
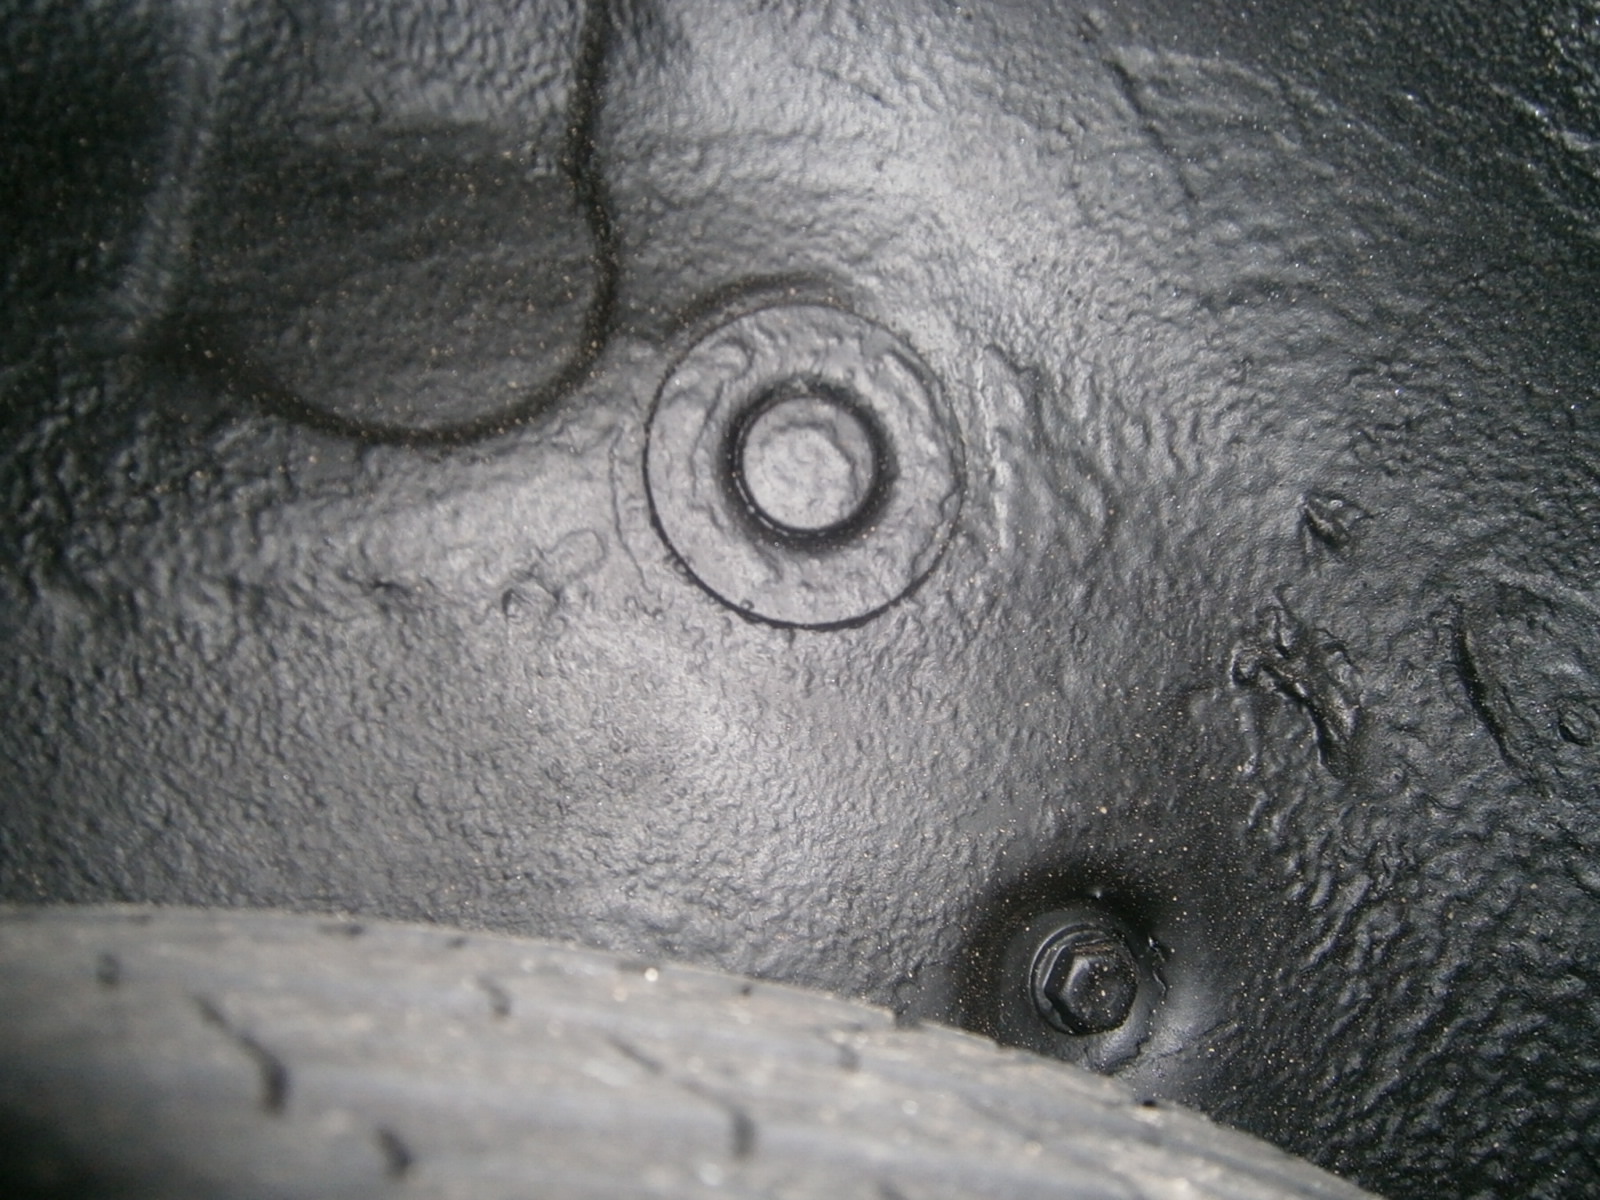
| View from rear-note diff fully covered |
 |
| W heel arch |
 |
| Wheel arch |
The black gooeystuff they use never really sets This is a two-edged sword- on the credit side it tends to heal over minor abrasions and it is really water repellent; on the debit side it does get everywhere and remains sticky. I found it coated the battery/box and the cover for the battery compartment which eventually needed to be cleaned off. I also found it necessary to clean the tank/fuel sender unit before swapping that too (see separate post) and any work on the diff would obviously need a good clean too. It seals in the cables and fuel/brake pipes which obviously protects them but does make any future service work on them rather unpleasant. I had wanted to make changes to the positive feed cable from the battery- but in view of the mess I decided not to do that and eventually replaced the shorter earth cable when I fitted a battery isolation switch.
Rustbuster really only work internally between the welded seams on the bottom of the sills. They don't do the (painted) exterior of these welded seams and in my case these were already also showing signs of flaking and rust. They do however sell a comprehensive range of products for the DIY market and I bought rust converter (Fe 123) and 2 part epoxy mastic paint to deal with this myself. It took a while to get around to this but it was relatively simple.
 |
| Fe1213 rust converter |
 |
| Epoxy paint-part A (colour), B (epoxy) and thinners |
I had also bought the Rustbuster 2-part epoxy mastic paint. You mix equal volumes of part A (colour) and part B (epoxy mastic). The latter is really thick but mixes to give a usable paint. I opted for the "aluminium" colour which to my delight turned out to match the pewter of the LE really well. The paint goes on easily, covers smoothly and sets to a resinous hard coating that keeps water out. I painted the external seam face and also the flat areaexternal to the seam at the bottom of the sill. I also painted the metal strips under the rubber bumpers and since the colour match was so good, I was also able to paint the inside metal returns around the base of the wheel arches as well (effectively up to the bottom of the decal stripes).


Finally I masked and over sprayed these areas with grey Hamerite Stonechip to provide another layer of protection.
 |
| Masking up along the bottom swage line in the sill |

 |
| Stonechip applied |
 |
| Finished sill |
No comments:
Post a Comment